
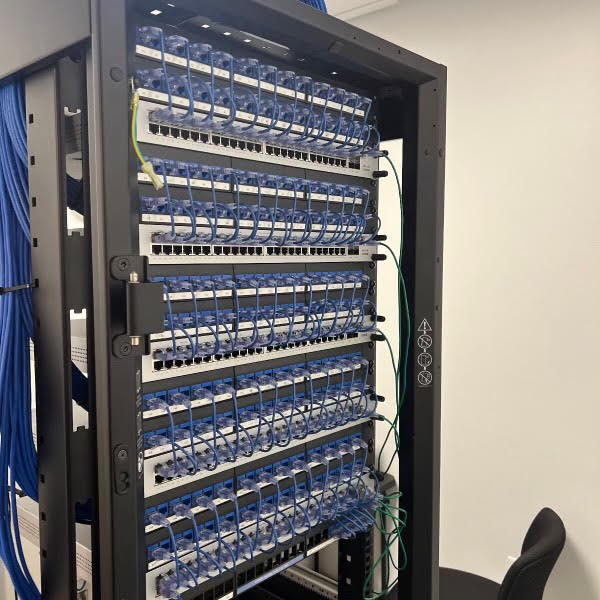
A rack that looks like art on day one and looks like a bird's nest on day 400 was never truly well-dressed. Sustainable cable management is a set of practices, not a photograph. The goal is a rack that a new technician can trace, label, and modify without an inventory of hand tools.
- Cord length discipline is 80% of what makes a rack stay clean.
- Velcro, not zip ties, on any bundle that will ever be modified.
- Vertical managers on every rack; horizontal managers between switches.
- Photograph and label every dressed rack at commissioning.
Executive summary
Long-lived cable management starts with the correct hardware selection (vertical and horizontal managers, service loops, appropriate D-ring sizes), continues with cord discipline (buy the right lengths, don't coil excess), and ends with documentation (labels, photos, and a change log). Every rebuild we do could have been avoided with two hours of foresight and a bag of correctly-sized patch cords.
Why racks degrade
A pristine rack becomes a bad rack one cord at a time. Someone needs a temporary port. A vendor drops in a switch and can't find the right-length cord. A camera goes online with a 15-ft cord in a 3-ft slot. Multiply by 200 MAC visits over five years and the rack loses its ability to serve as documentation of itself.
Hardware that makes management possible
- Vertical cable managers: at least 6 in wide for switch-dense racks, 10 in wide for high-density patching.
- Horizontal cable managers: 1U or 2U above and below each switch, D-ring or brush style.
- Overhead pathway: ladder rack or basket tray into the top of the rack — never side-entry.
- Bend-radius aware fingers and rings; sharp corners crush jackets and fail future tests.
- Velcro every 12–18 in; zip ties only on permanent structural bundles.
Common mistakes
- Bundling patch cords too tightly — impedance shifts and NEXT margin shrinks.
- Overlong patch cords coiled at the back — creates hot spots and blocks airflow.
- Zip ties on data — every future move requires cutting and re-dressing.
- Mixing fiber and copper in the same bundle — copper crushes fiber over time.
- No blanking panels — hot air recirculates and cooling suffers.
Field practices
- Buy patch cords in six lengths (1, 2, 3, 5, 7, 10 ft) and enforce use of the correct length.
- Run all cords horizontally to the vertical manager, then vertically to the destination — never diagonally across the rack face.
- Dress the back first; the back sets the discipline of the front.
- Label at both ends within one hour of termination; a label written later is often written wrong.
- Photograph the front and back of the rack after any MAC visit and archive with the change ticket.
Standard rack dress-out kit
| Item | Quantity per 45U rack |
|---|---|
| Vertical cable manager 6" or 10" | 2 (one per side) |
| Horizontal manager 1U D-ring | One above and below each active switch |
| Velcro cable ties 8" | 100–200 |
| Patch cords, correct length | As-built count + 10% spares |
| Blanking panels | Every empty U |
| Rack ground kit | 1 (bonded to TGB) |
When to call a professional
A rack that already looks bad rarely gets fixed one cord at a time. When the estimate to trace one specific cable exceeds an hour, budget a re-dress: a two-technician crew can strip and re-dress a 42U rack in a shift, including new patch cords and updated labels. The productivity return usually pays back inside a quarter.